
Help Editor guide Photos
Help Contributor guide Photos
Adding photos
Every book has one shared photo library. This article explains how to add photos to it and put them on your pages.
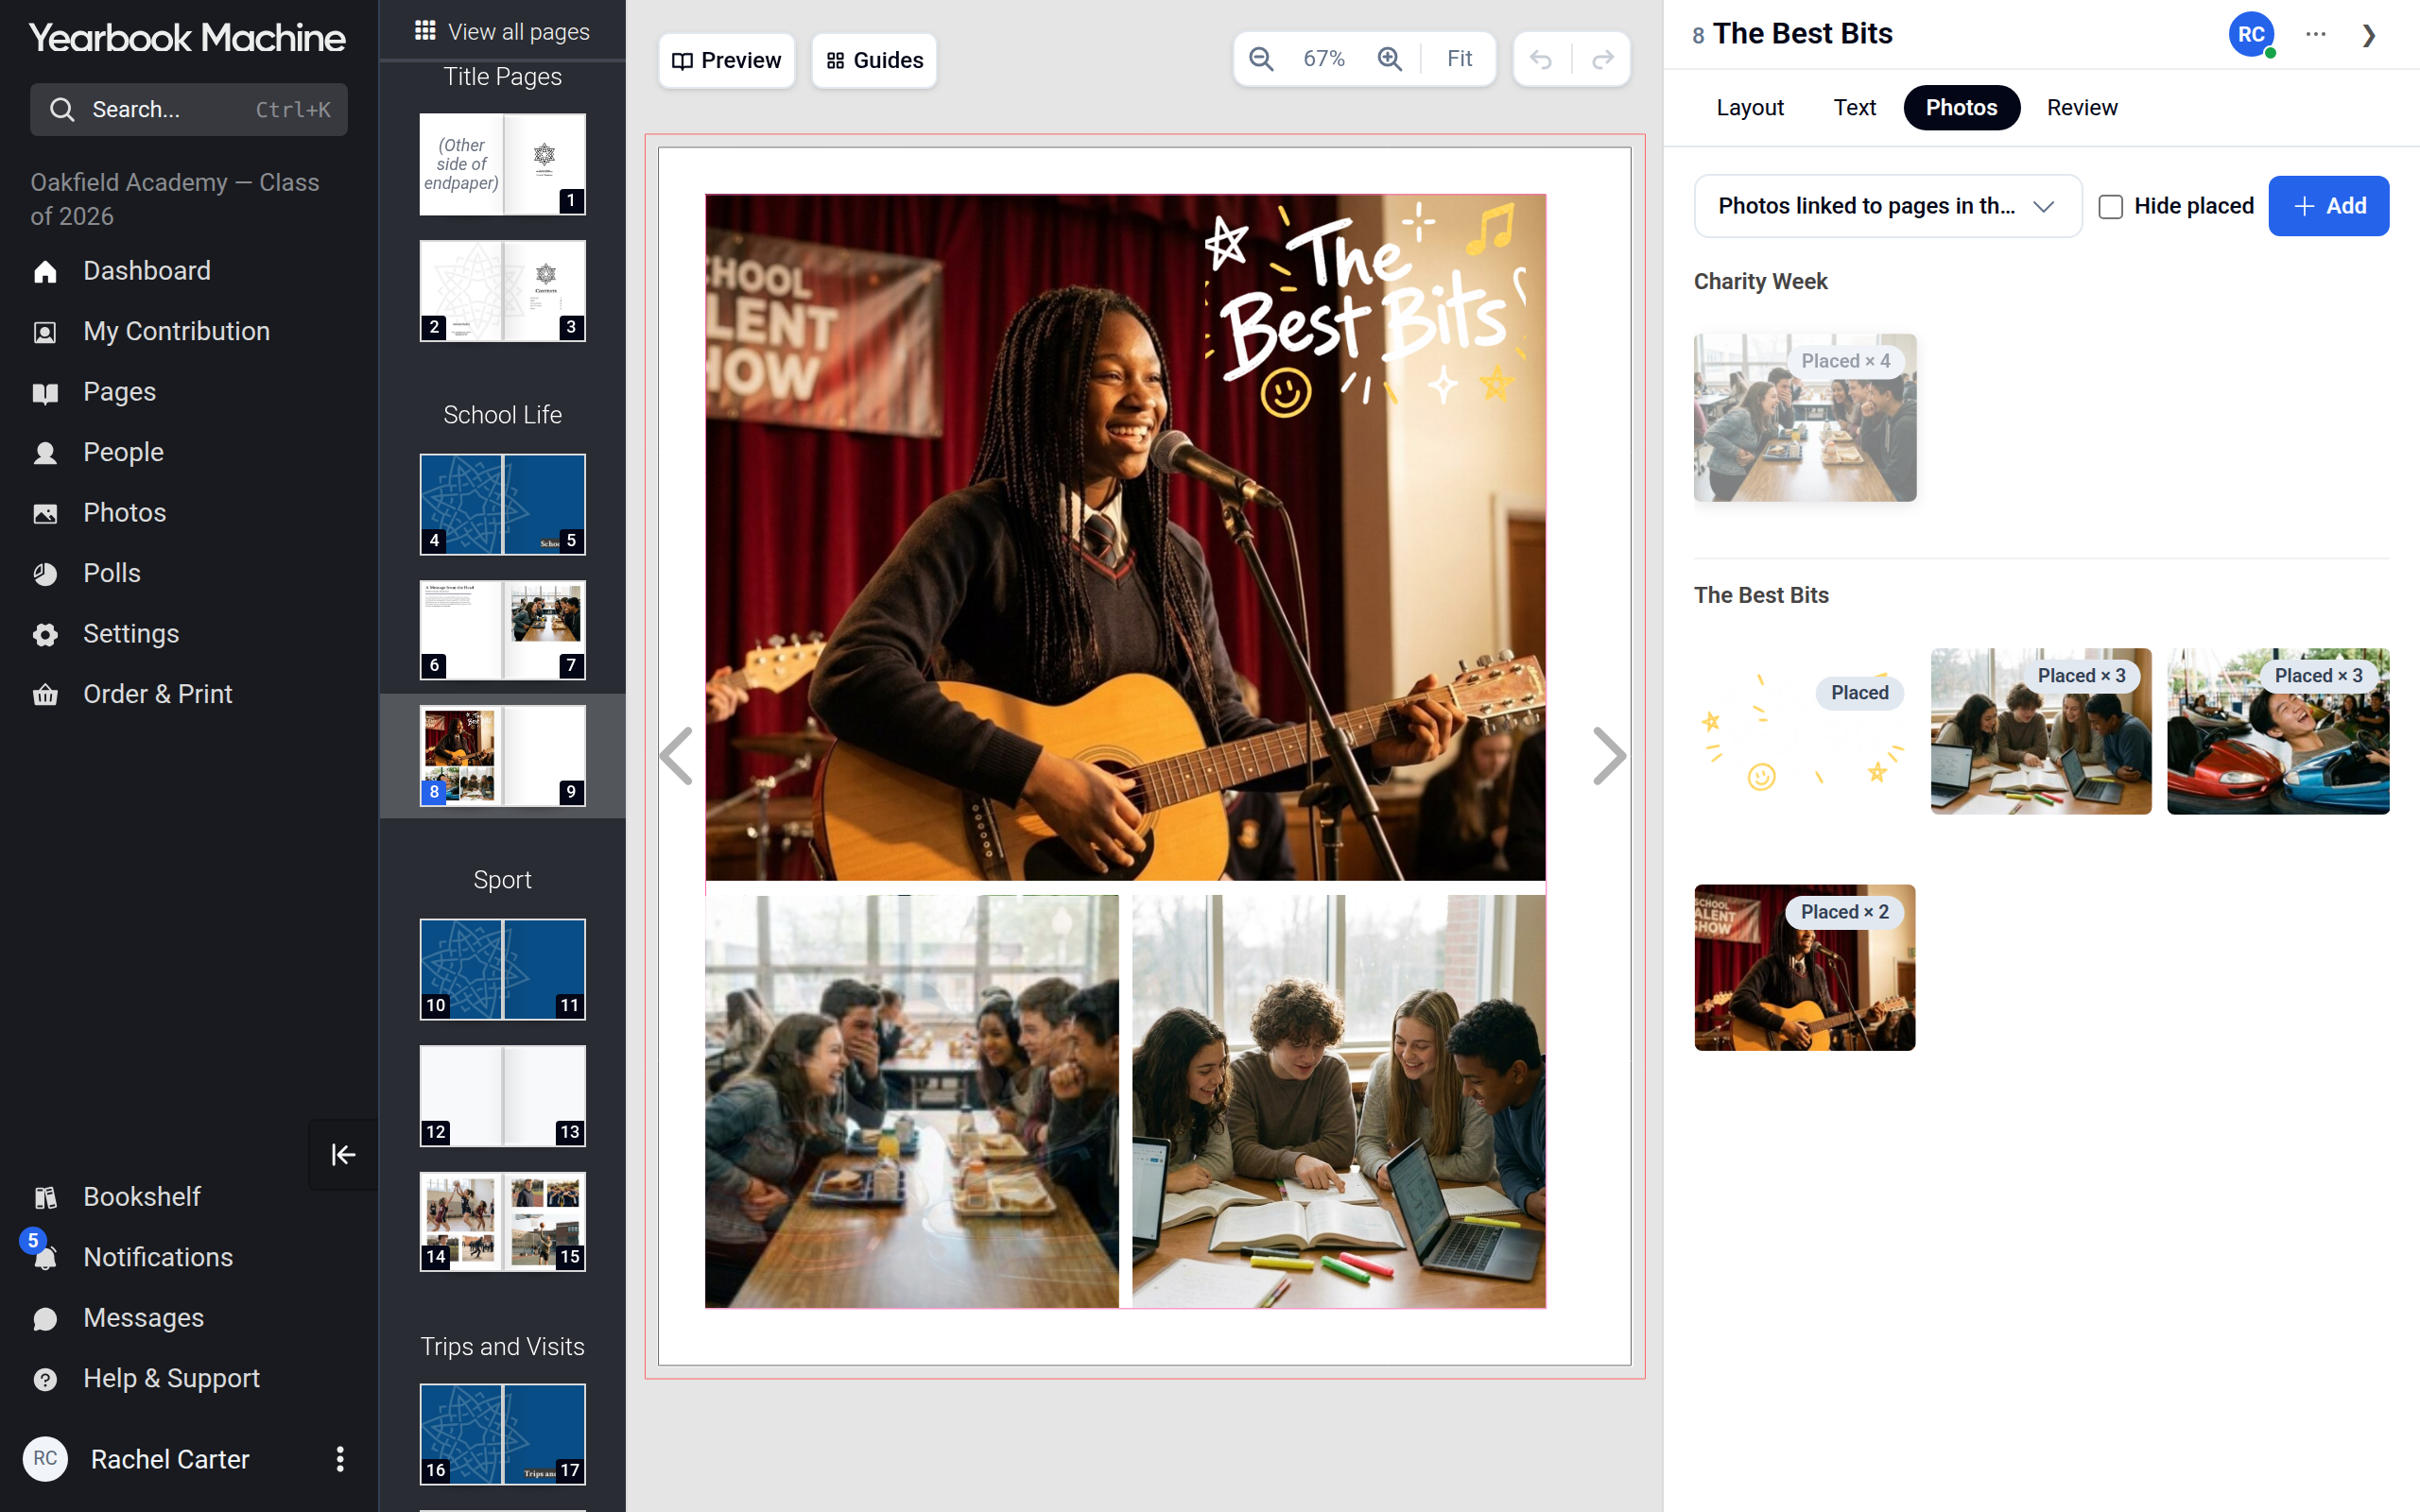
Uploading photos
- Open a page in the editor and click the Photos tab in the tray on the right. It shows your book's shared photo library.
- Drag files from your computer straight onto the library panel, or click Add and choose From device to pick them from a folder. You can also choose From Dropbox or By email.
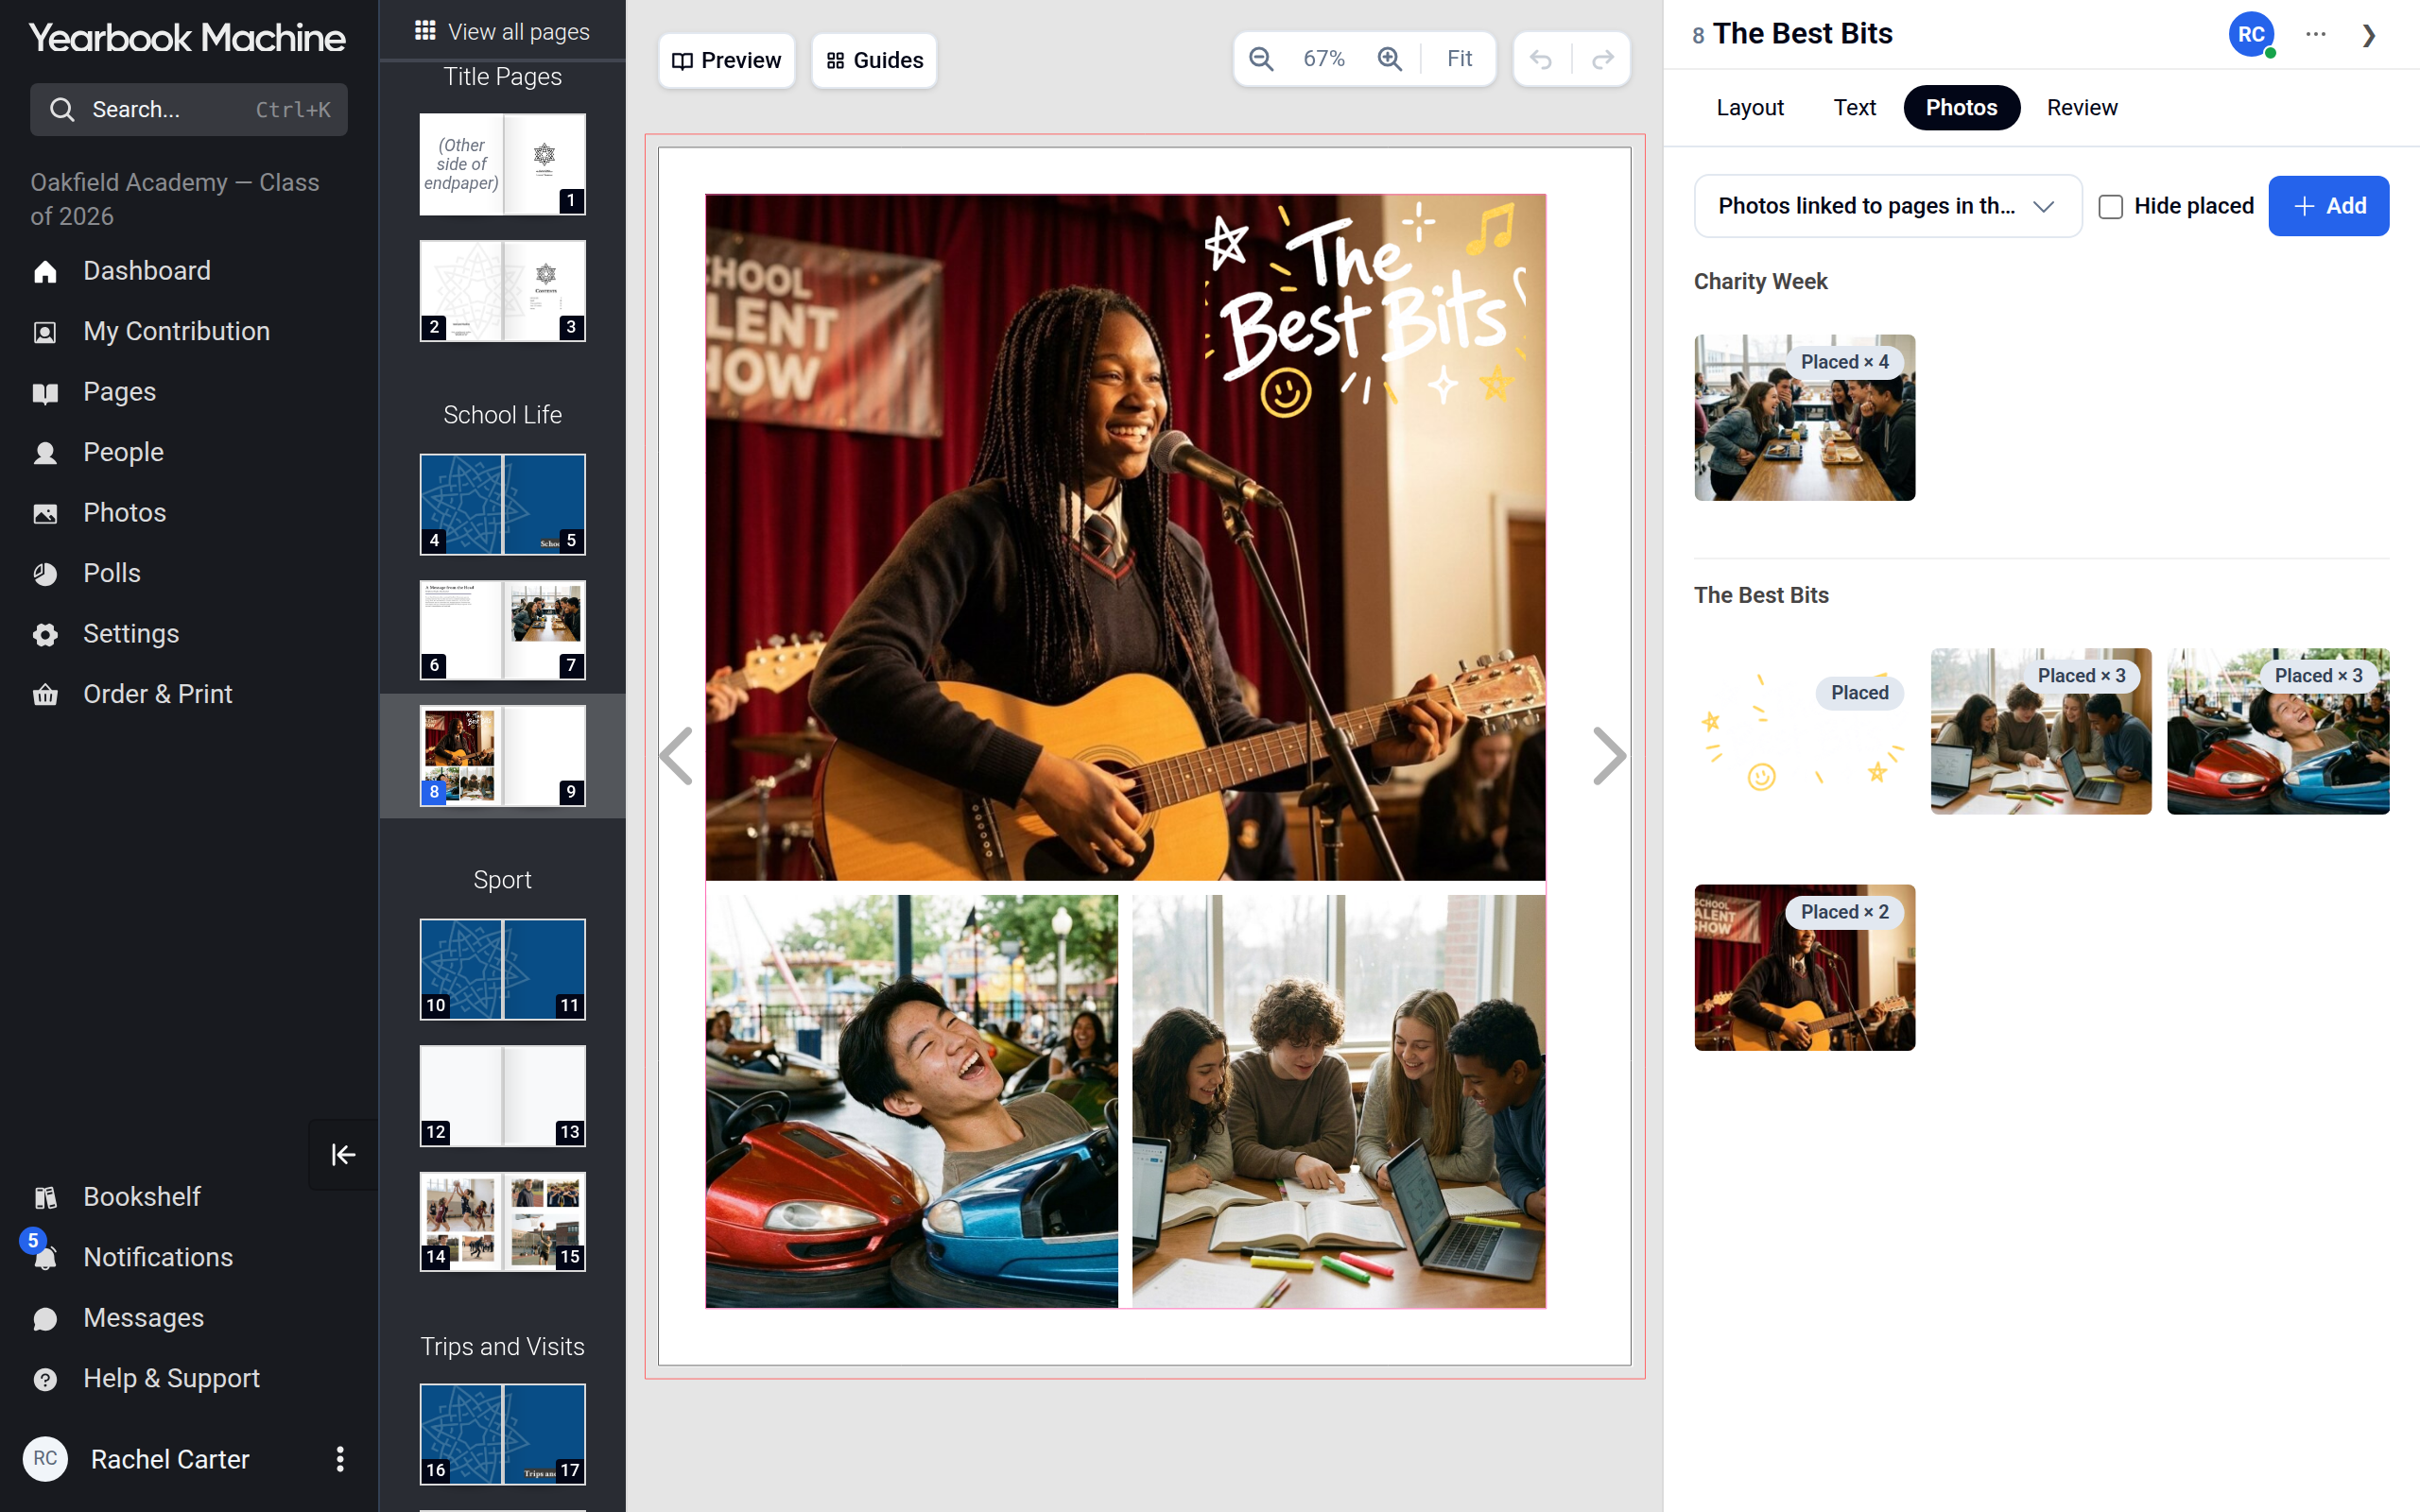
Each photo is turned the right way up automatically. Its print quality is checked when you place it on a page.
For the best print quality, upload the largest version of each photo you have. See Photo resolution and print quality for how big a photo needs to be.
Putting photos on a page
Once your photos are in the library, drag them onto any photo frame on a page.
To find, link, edit or remove photos across the whole book, see Photo library.
Was this article helpful?
Sorry, that didn't send. Please try again in a little while.
Thanks. That helps us improve this article.
Any other questions?
Email support@staging.yearbook.com and we'll help you out.